| General NutriBase Options |

|
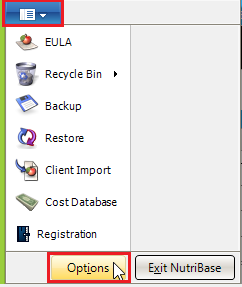 Click the NutriBase Menu Icon located in the upper left corner of your NutriBase window. Click the NutriBase Menu Icon located in the upper left corner of your NutriBase window.
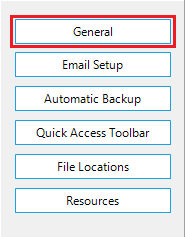
Next, click the “Options” button at the bottom of the resulting window to access and view the NutriBase Options. Doing so takes you to the NutriBase Options window. You will see several choices, including Backup, Restore, Client Import and a button labeled: “Options.” Clicking this “Options” button will take you to a window that offers additional choices, including: General options, Email Setup, Automatic Backup, Quick Access Toolbar, File Locations, and Resources. General Click this button to access the General options - options that allow you to control a few global features of NutriBase. Click the options as desired to change the settings. The Recipe Prompt Preference allows you to set your preference as to whether you want to add your Recipes (to Food Logs, Recipes, Meals, and Meal Plans) as a single item (using the Recipe name) or as a listing of all the Recipe ingredients. You can also choose to have NutriBase prompt you each time if you prefer. The Meal Prompt Preference option works the same way for Meals. NutriBase ID - one of the options in this window is the option to display the NutriBase ID… a unique number that is given to every food item in the nutrient databases. The prefix to these NutriBase ID numbers is called the “source code.” To turn these on, check the boxes for the databases in which you want to display these NutriBase ID numbers. The source code prefixes give you information as follows: SR = USDA SR data. CN = Canadian Nutrient File data from the CNF 2005 data. BN = Brand Name data. This topic updated 06/24/2015 |